An air conditioner is one of the most important investments you can make for your home, especially in the sweltering Florida heat. While choosing the right unit is a big decision, understanding the installation process is just as crucial. Knowing what to expect can help you prepare your home, ask the right questions, and ensure the job is done correctly for years of cool, reliable comfort.
This guide walks you through each step of a typical AC installation. We'll cover everything from the initial consultation to the final checks, so you can feel confident and prepared. Whether you're replacing an old system or installing one for the first time, you'll learn what professionals do behind the scenes to get your new air conditioner up and running.
The Pre-Installation Consultation
The first step isn't about tools and equipment; it's about a thorough assessment of your home. A professional HVAC technician will visit to determine the best cooling solution for your specific needs. This is a critical stage that sets the foundation for an efficient and effective installation.
Load Calculation
A technician shouldn't just guess the size of the unit you need. They will perform a "Manual J" load calculation, which is an industry-standard method for sizing HVAC systems. This calculation considers several factors, including:
- Home Size: The total square footage of the area to be cooled.
- Insulation: The quality and R-value of insulation in your walls, attic, and floors.
- Windows: The number, size, type, and direction they face.
- Air Leakage: How airtight your home is.
- Local Climate: The specific weather patterns in your region, like the intense sun and humidity in Central Florida.
- Occupancy: The number of people living in the home.
Getting this calculation right ensures you don't end up with a unit that is too large or too small. An oversized unit will cool the house too quickly and shut off before it can properly dehumidify the air, leaving you feeling damp and clammy. An undersized unit will run constantly, struggling to keep your home cool while driving up your energy bills.
System Selection and Quote
Based on the load calculation and your budget, the technician will recommend a few system options. They'll explain the differences in efficiency (SEER ratings), features, and brands. You will then receive a detailed, written quote that outlines all costs, including the unit, labor, and any necessary AC supplies. This transparency is key to avoiding surprise charges later.
Installation Day: What to Expect
Once you've approved the quote, it's time for installation day. A typical AC installation can take anywhere from four to eight hours, depending on the complexity of the job. Here’s a breakdown of what the technicians will be doing.
1. Preparing the Work Area
The first thing the installation crew will do is prepare the work area to protect your home. This involves laying down drop cloths or floor coverings from the entryway to the indoor unit's location (usually a closet, attic, or garage). They'll also clear a path to the outdoor unit's location. This simple step minimizes mess and prevents damage to your floors and belongings.
2. Removing the Old System
If you are replacing an existing system, the team will start by safely decommissioning and removing the old equipment. This process includes:
- Disconnecting the electrical supply to the unit.
- Safely recovering any remaining refrigerant from the old system, in compliance with EPA regulations.
- Removing the indoor air handler and the outdoor condenser unit.
Proper disposal of the old equipment and refrigerant is an environmental responsibility that a professional contractor will handle correctly.
3. Installing the New Outdoor Condenser
The outdoor unit, or condenser, is the heart of your AC system. The crew will place a new pad for the unit to sit on, ensuring it is perfectly level. An unlevel pad can cause the compressor's oil to distribute unevenly, leading to premature failure.
Once the pad is in place, the new condenser is mounted on top. The technicians will then connect the refrigerant lines and electrical wiring between the outdoor and indoor units.
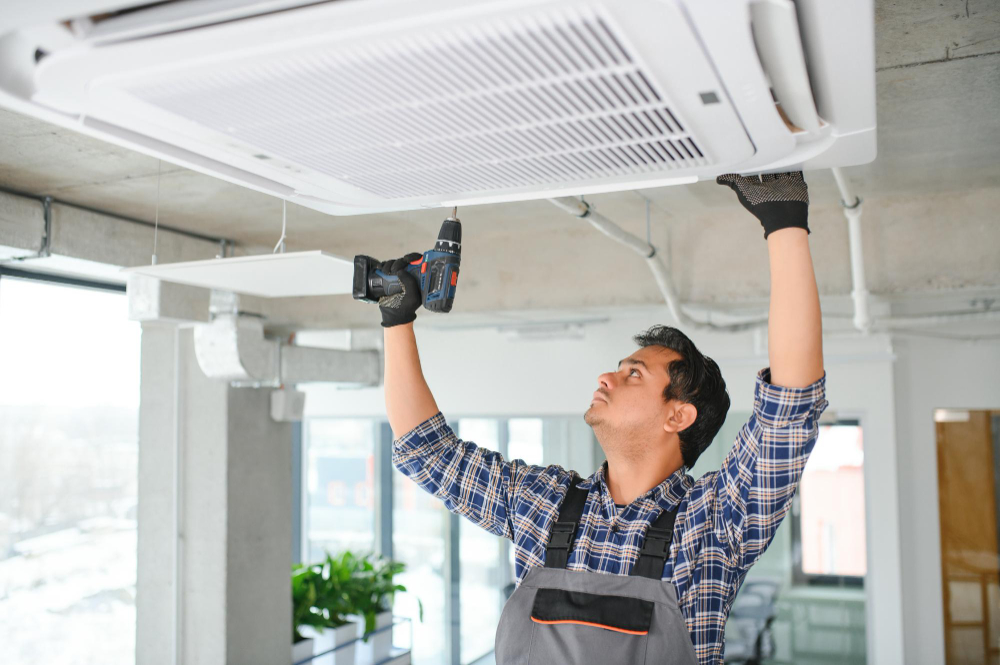
4. Installing the New Indoor Air Handler
Inside your home, the team will install the new air handler. This might involve modifying the existing ductwork to ensure a perfect fit. A tight seal is essential for preventing air leaks, which can significantly reduce your system's efficiency. They will also connect the condensate drain line, which carries moisture collected from the air safely out of your home. A properly installed drain line with a p-trap prevents water damage and stops gasses from the drain system from entering your home.
5. Connecting the System and Final Checks
With both indoor and outdoor units in place, the technicians will complete the final connections. This includes:
- Brazing the Refrigerant Lines: The copper refrigerant lines are permanently joined using a brazing torch to create a leak-proof seal.
- Performing a Pressure Test: The system is pressurized with nitrogen to check for any leaks in the refrigerant lines. This is a vital quality control step.
- Pulling a Vacuum: After confirming there are no leaks, a vacuum pump is used to remove all air and moisture from the refrigerant lines. Moisture is the enemy of an AC system, as it can freeze and cause blockages or mix with refrigerant to form corrosive acid.
- Charging with Refrigerant: Finally, the correct amount of refrigerant is added to the system according to the manufacturer's specifications.
6. System Calibration and Testing
The job isn't done yet. The technicians will turn on the new system and perform a series of tests to ensure it's running at peak performance. They will check temperature differentials, airflow, and electrical readings to confirm everything is working as it should. They will also calibrate the thermostat and walk you through how to use your new system and its features.
After the Installation
A reputable installer will clean up the work area completely, removing all old equipment, tools, and debris. They will leave your home as clean as they found it. This is also your opportunity to ask any final questions about maintenance, filter changes, and warranty registration. The company should provide you with all the necessary paperwork for your new system's warranty.
Your Partner for AC Success
Understanding the AC installation process empowers you to make informed decisions and ensures you receive a high-quality, lasting cooling system. From the initial load calculation to the final system test, every step is designed to maximize comfort and efficiency. A professional installation is the best way to protect your investment and enjoy reliable cooling for years to come.
If you're an HVAC professional or a seasoned DIYer looking for high-quality AC supplies in Central Florida, having the right parts is just as important as the right process. Contact Discount Air Supply today for more information on our extensive inventory and expert advice.